- /
- /
- /
Running the Setup Wizard for first time use
KB22182
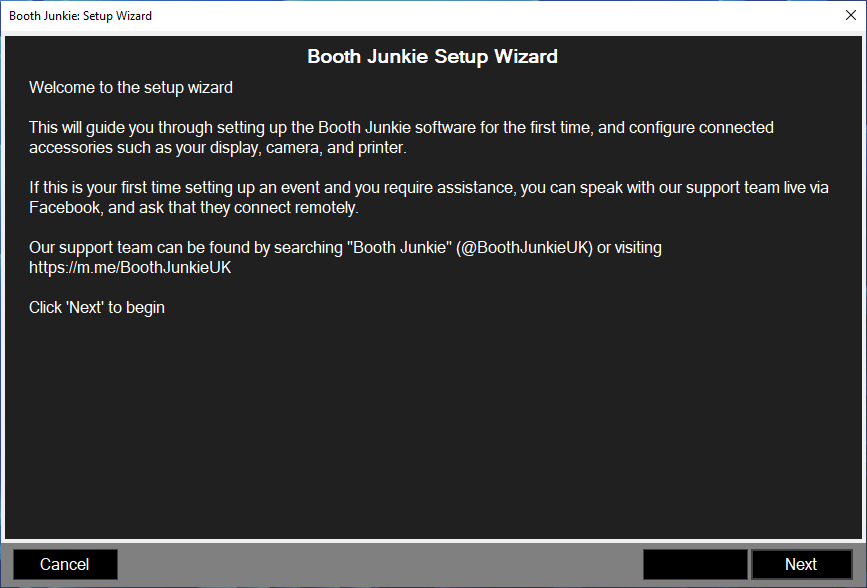
In order to get you up and running as quickly as possible, Booth Junkie now comes with it’s own ‘Wizard’.
Using the wizard, you can very quickly configure the basic settings required for every initial setup of the software.
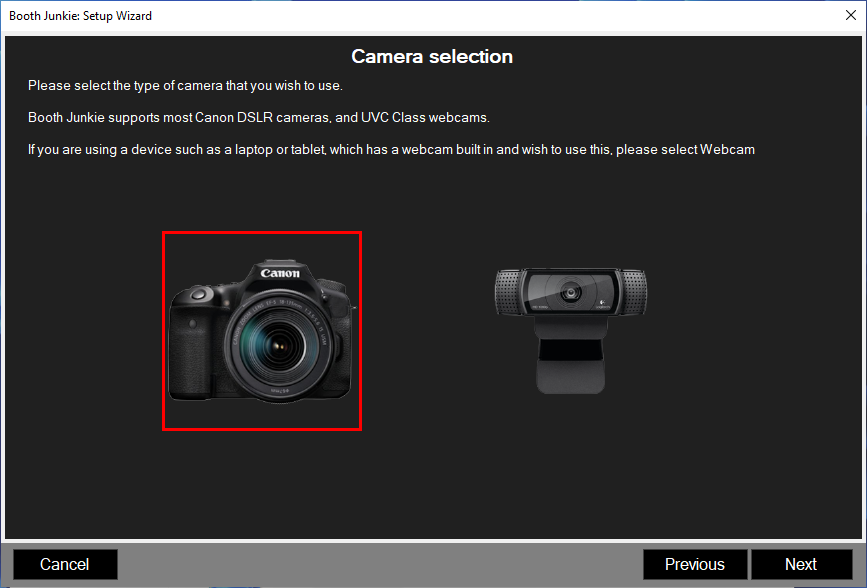
Booth Junkie supports either Canon DSLR cameras, or a USB UVC Webcam – including webcams built into devices such as tablets and laptops
- The very first thing we need to configure, is whether you are wanting to use a Canon DSLR camera, or a USB UVC Webcam.
Select your choice and hit ‘Next‘
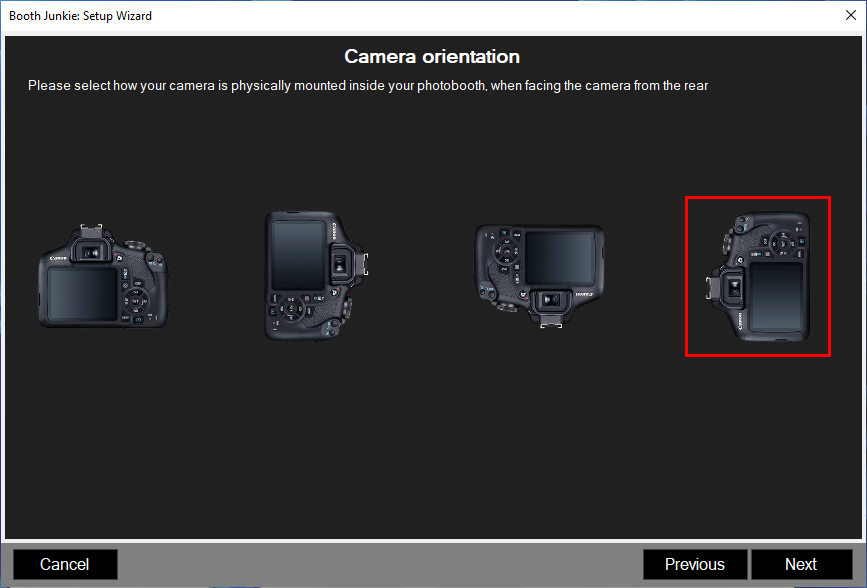
If you have selected to use a Canon DSLR camera, you will be asked to select your camera’s physical orientation.
- Select from the options which image best represents your cameras physical orientation, and hit ‘Next‘
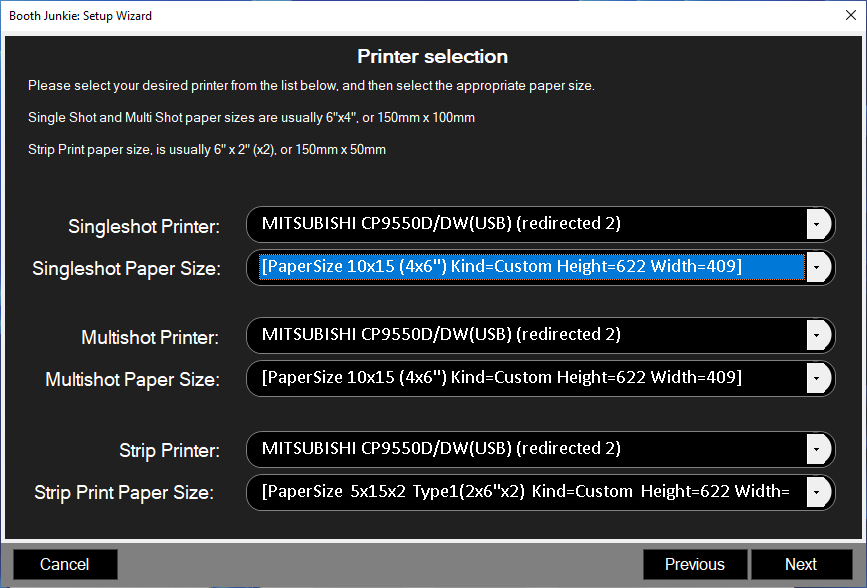
Now we need to select which printer you want to use, as well as the paper size you will be using.
- For most photobooth printers, you will be using 4″x6″ paper for both the Single Shot, and the Multi Shot.
- If you are offering strip prints, you will be wanting to use 2″x6″ paper strips, if your printer directly supports this paper size
Click ‘Next‘ once you have selected your printer and paper sizes.
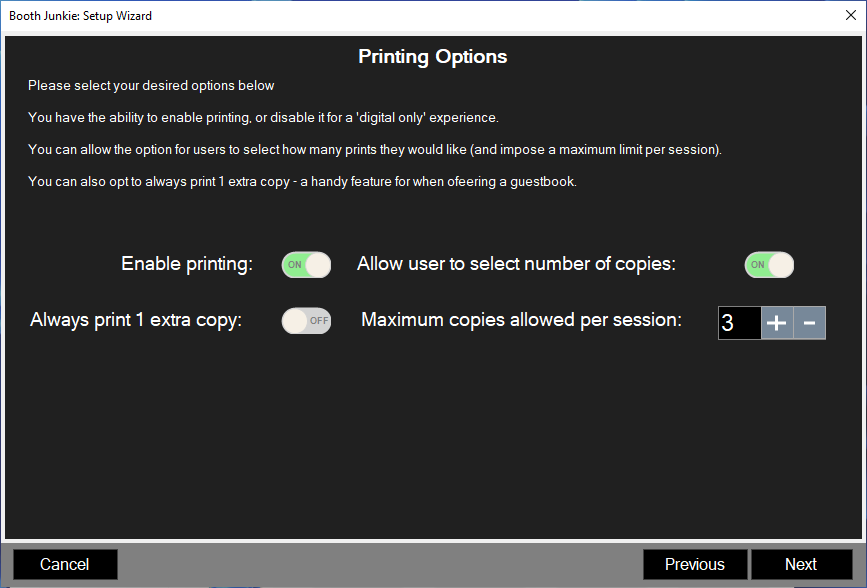
Now you get to select your printing options.
- Enable Printing will allow you to enable or disable printing altogether.
- Allow use to select number of copies will display an option asking the user how many copies of their they would like
- Maximum copies allowed per session will limit the amount of copies a user can select per session.
- Always print 1 extra copy can be used if you are offering a guest book and would like an additional copy printed to be placed in the guest book
Click ‘Next‘ when you are ready to proceed
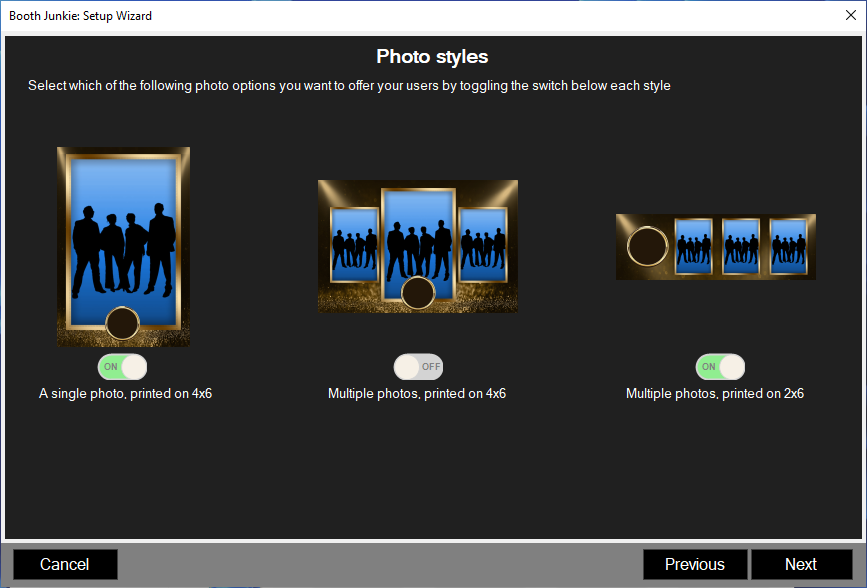
Booth Junkie can allow you to offer a single photo on the printout, multiple photos on the printout, or traditional strip prints.
- Use the toggle switches to turn On or Off the options you want to enable and disable.
Hit ‘Next‘ when you are ready
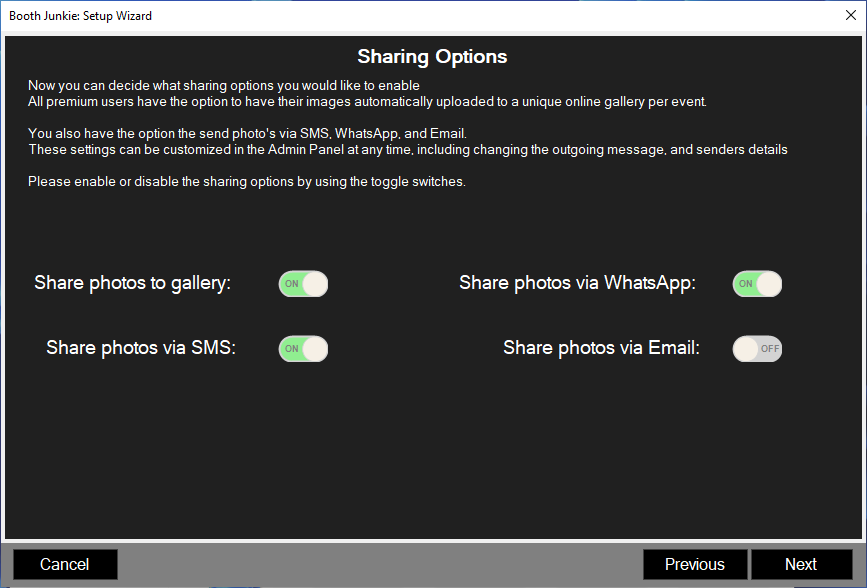
Boot Junkie has numerous photo sharing options available. On this screen, you can configure which option you want to enable and disable.
All options require an active internet connection in order to work, but you can still offer these options without an internet connection and Booth Junkie can then upload the images and send the digital copies when it next has an active internet connection.
- Share photos to gallery will upload each image to a unique gallery for that event, which can either be viewed by your users, or displayed on a separate device such as a tablet based share station
- Share photo via WhatsApp will allow users to enter their phone number and have images sent to them via WhatsApp
- Share photos via SMS will allow users to enter their phone number and will send a link to their phone via SMS to view their image
- Share photos via email will allow users to enter their email address and have their photos sent to them as an email attachmen
Click ‘Next‘ once you have enabled/disabled the options you would like to offer
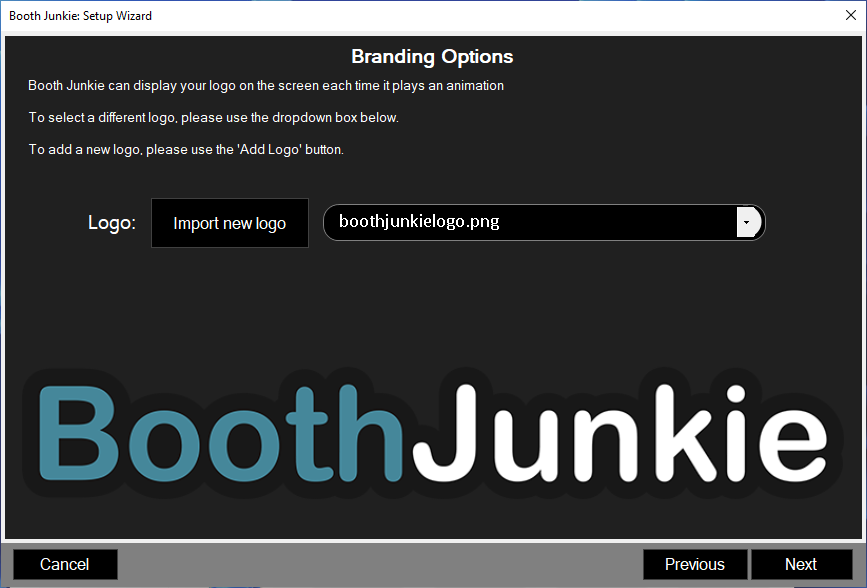
Booth Junkie can display your company logo at the bottom or each animation screen to add unique branding to your photobooth.
- If you would like to use your own logo, select it from the dropdown list if it is available, or hit ‘Import new logo‘ and then select the logo you wish to use and then select it from the dropdown list.
- If you do not wish to brand the screen with a logo, select ‘None‘ from the dropdown list.
Once again, hit ‘Next‘ when you are ready to continue
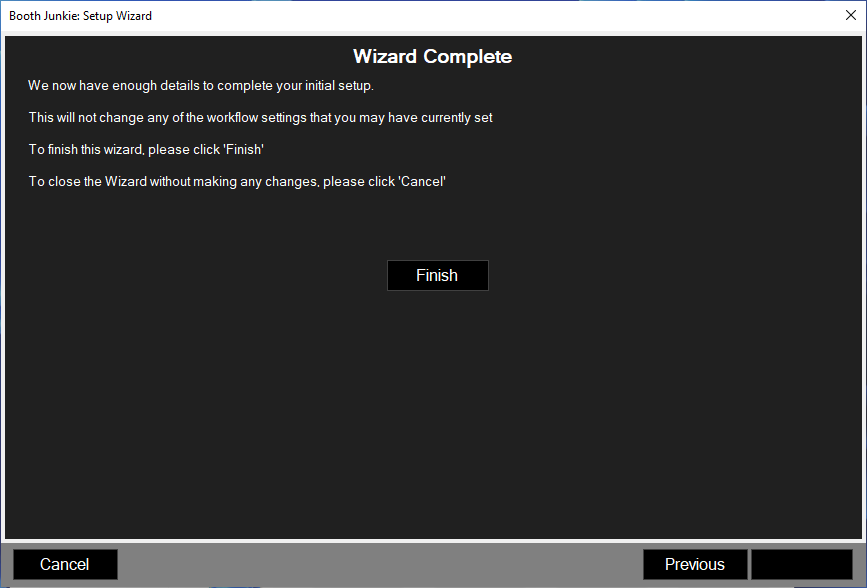
Now you have selected the initial options required to get your running with the basics, Booth Junkie can now use those selections to configure the software for you automatically.
Hit ‘Finish‘ when you are ready for Booth Junkie to implement your selections, and don’t forget to also hit ‘Save‘ before you ‘Start Booth‘.