
These settings are for the whole booth: every AI Selection step uses them. For the rest of the screen, see Designing the AI Selection Screen.
The Tile Area’s properties
-
Go to Admin Panel → Screen Layout → AI Selection.
-
Select Tile Area in the list of elements.
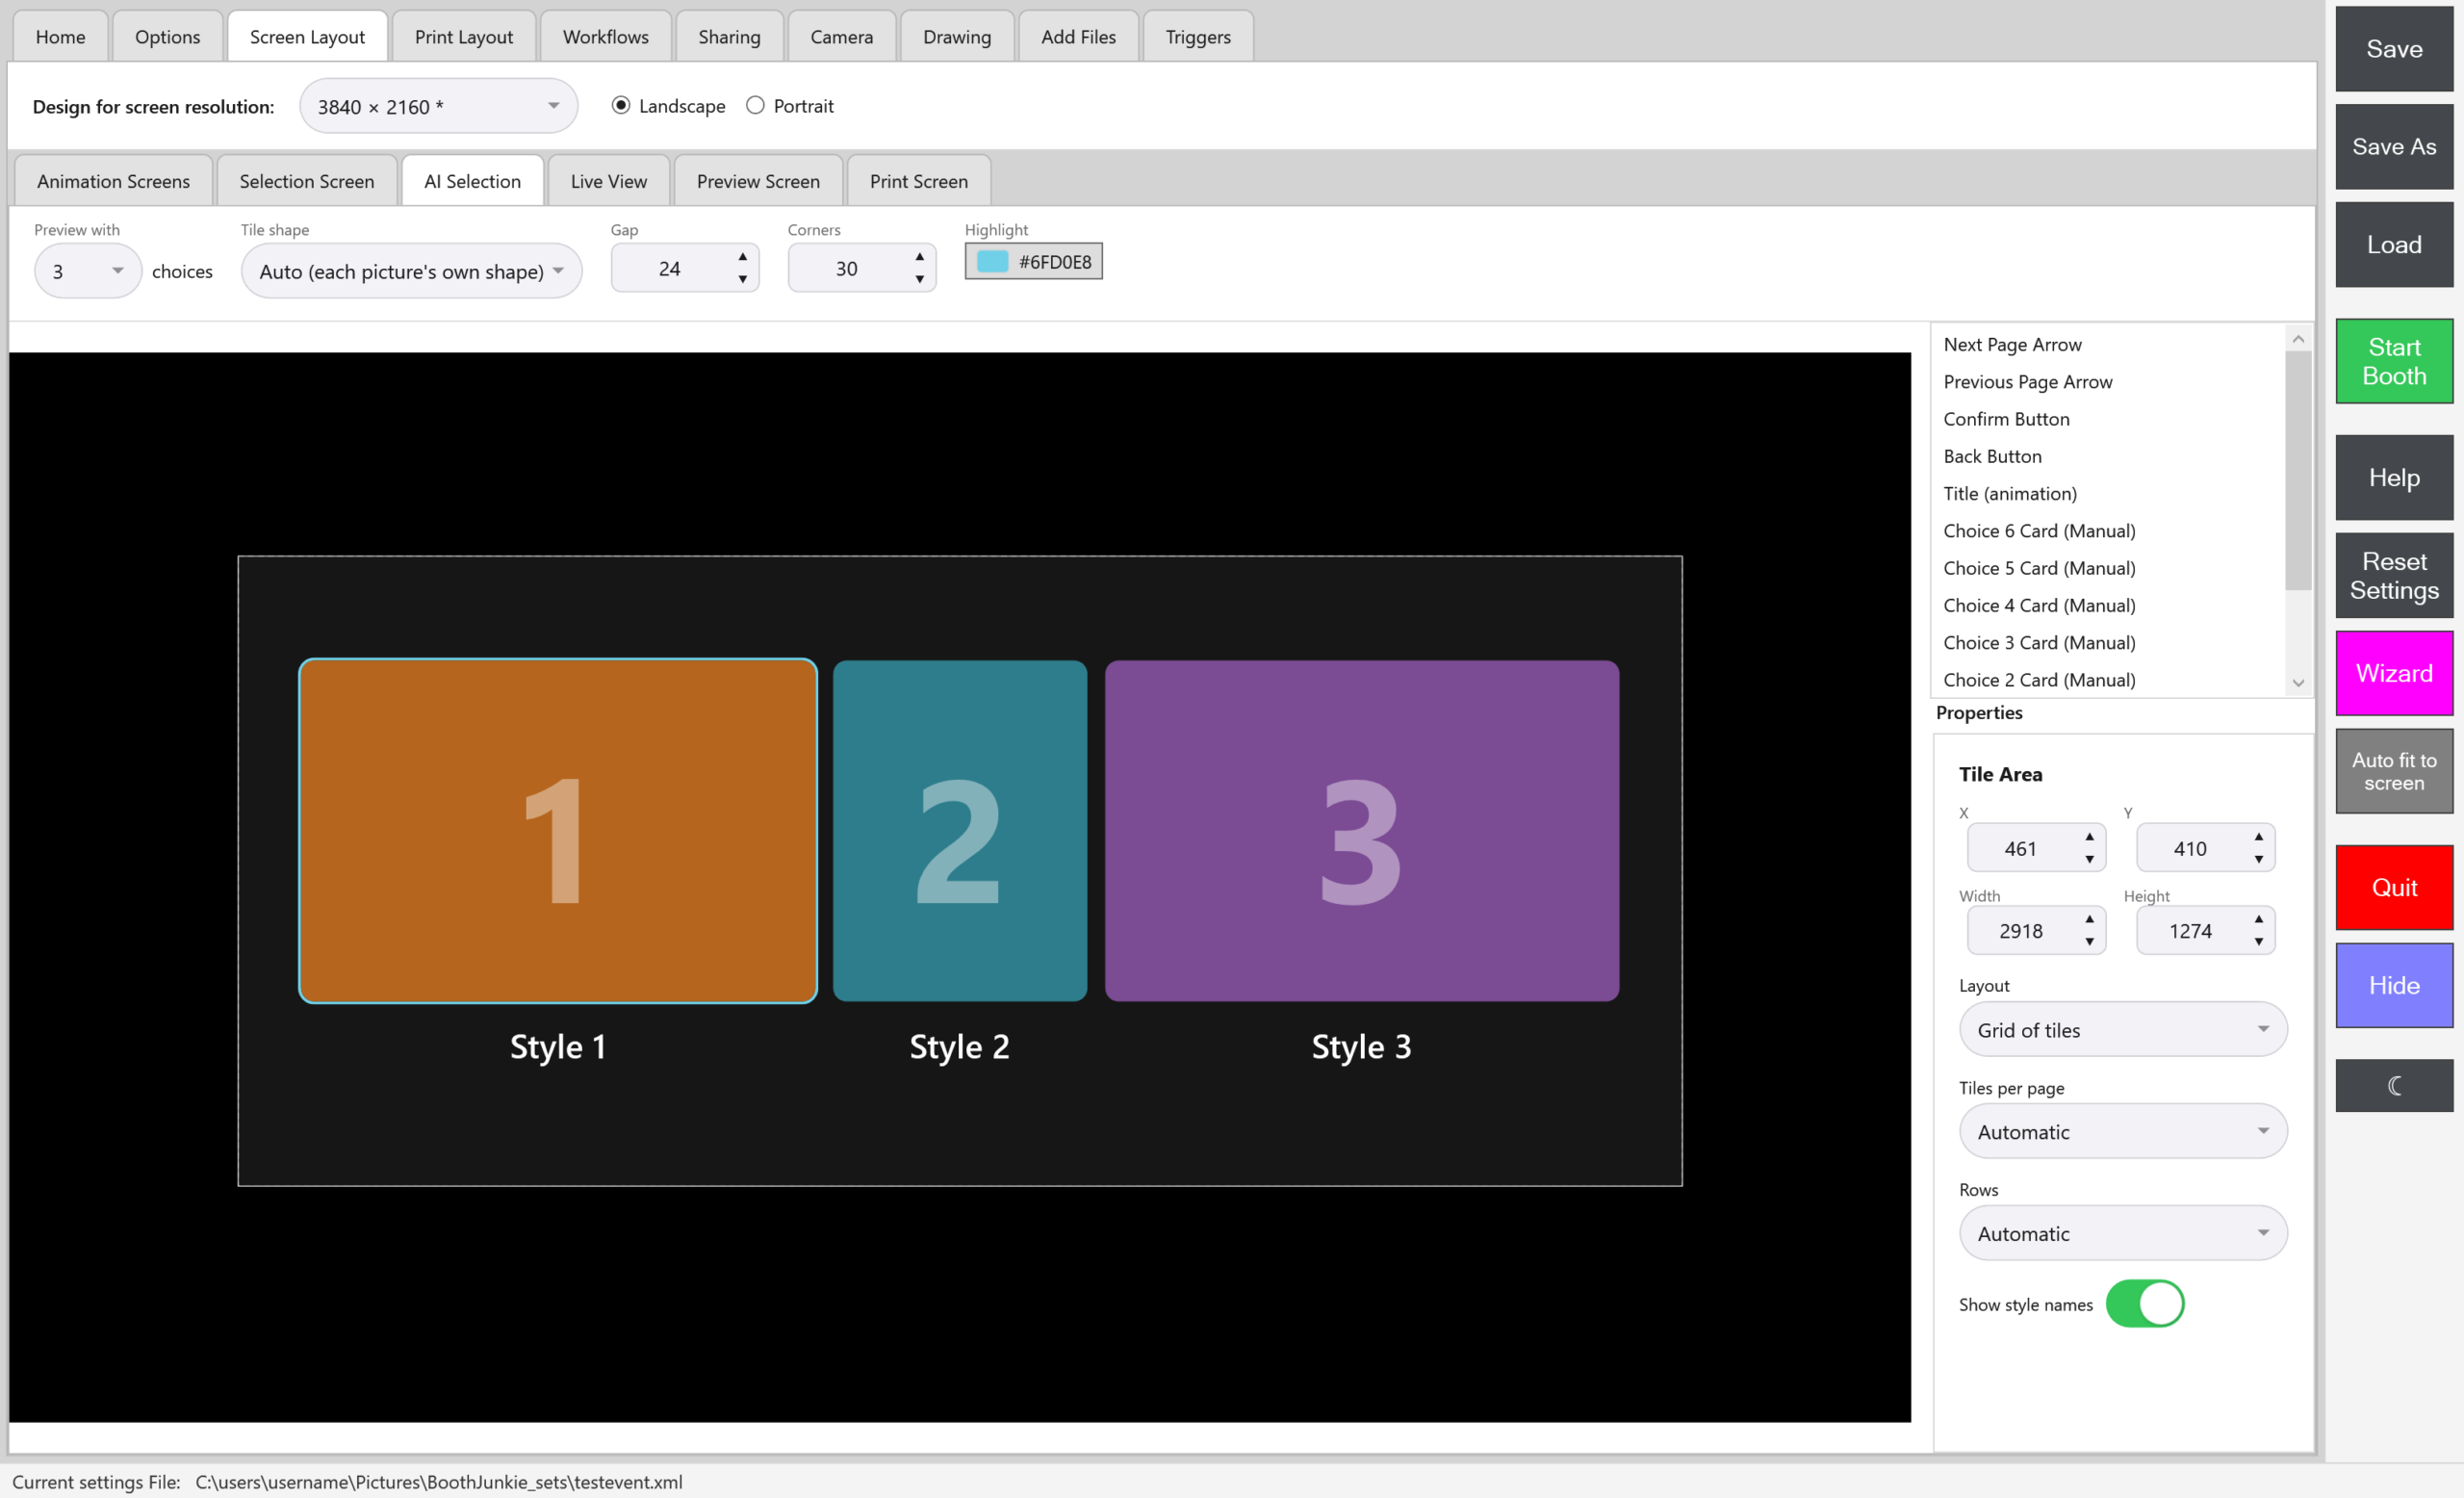
| Property | What it does |
|---|---|
| X, Y, Width, Height | Where the Tile Area sits and how big it is. You can also drag it and its handles on the canvas. |
| Layout | Grid of tiles, Swipe or Manual (your own cards). See below. |
| Tiles per page | Grid only. Automatic, or from 2 to 24. |
| Rows | Grid only. Automatic, or from 1 to 6. |
| Show style names | Shows each style’s name under its tile, or switch it off for pictures only. |
The preview on the tab changes as you change them.
Grid of tiles
The styles are shown as tiles, in the order of your list, in pages of up to 12.
- When there’s more than one page, guests turn the page with the arrows or by swiping sideways across the tiles. Dots show which page they’re on.
- Pages are kept even: 13 styles make a page of 7 and a page of 6. Every page has the same rows, and every tile is the same height, so nothing changes size when the page turns.
- A name too long for its tile wraps onto a second line.
Tiles per page and Rows left on Automatic give the biggest tiles that fit, which for tall, narrow pictures in a wide Tile Area is often a single row. Choose a number to set them yourself; the last page holds whatever is left. Your numbers are used even if the tiles come out small, so check the preview.
Swipe
One large card sits in the middle, with the cards either side peeking in. Guests slide a finger along to move through them.
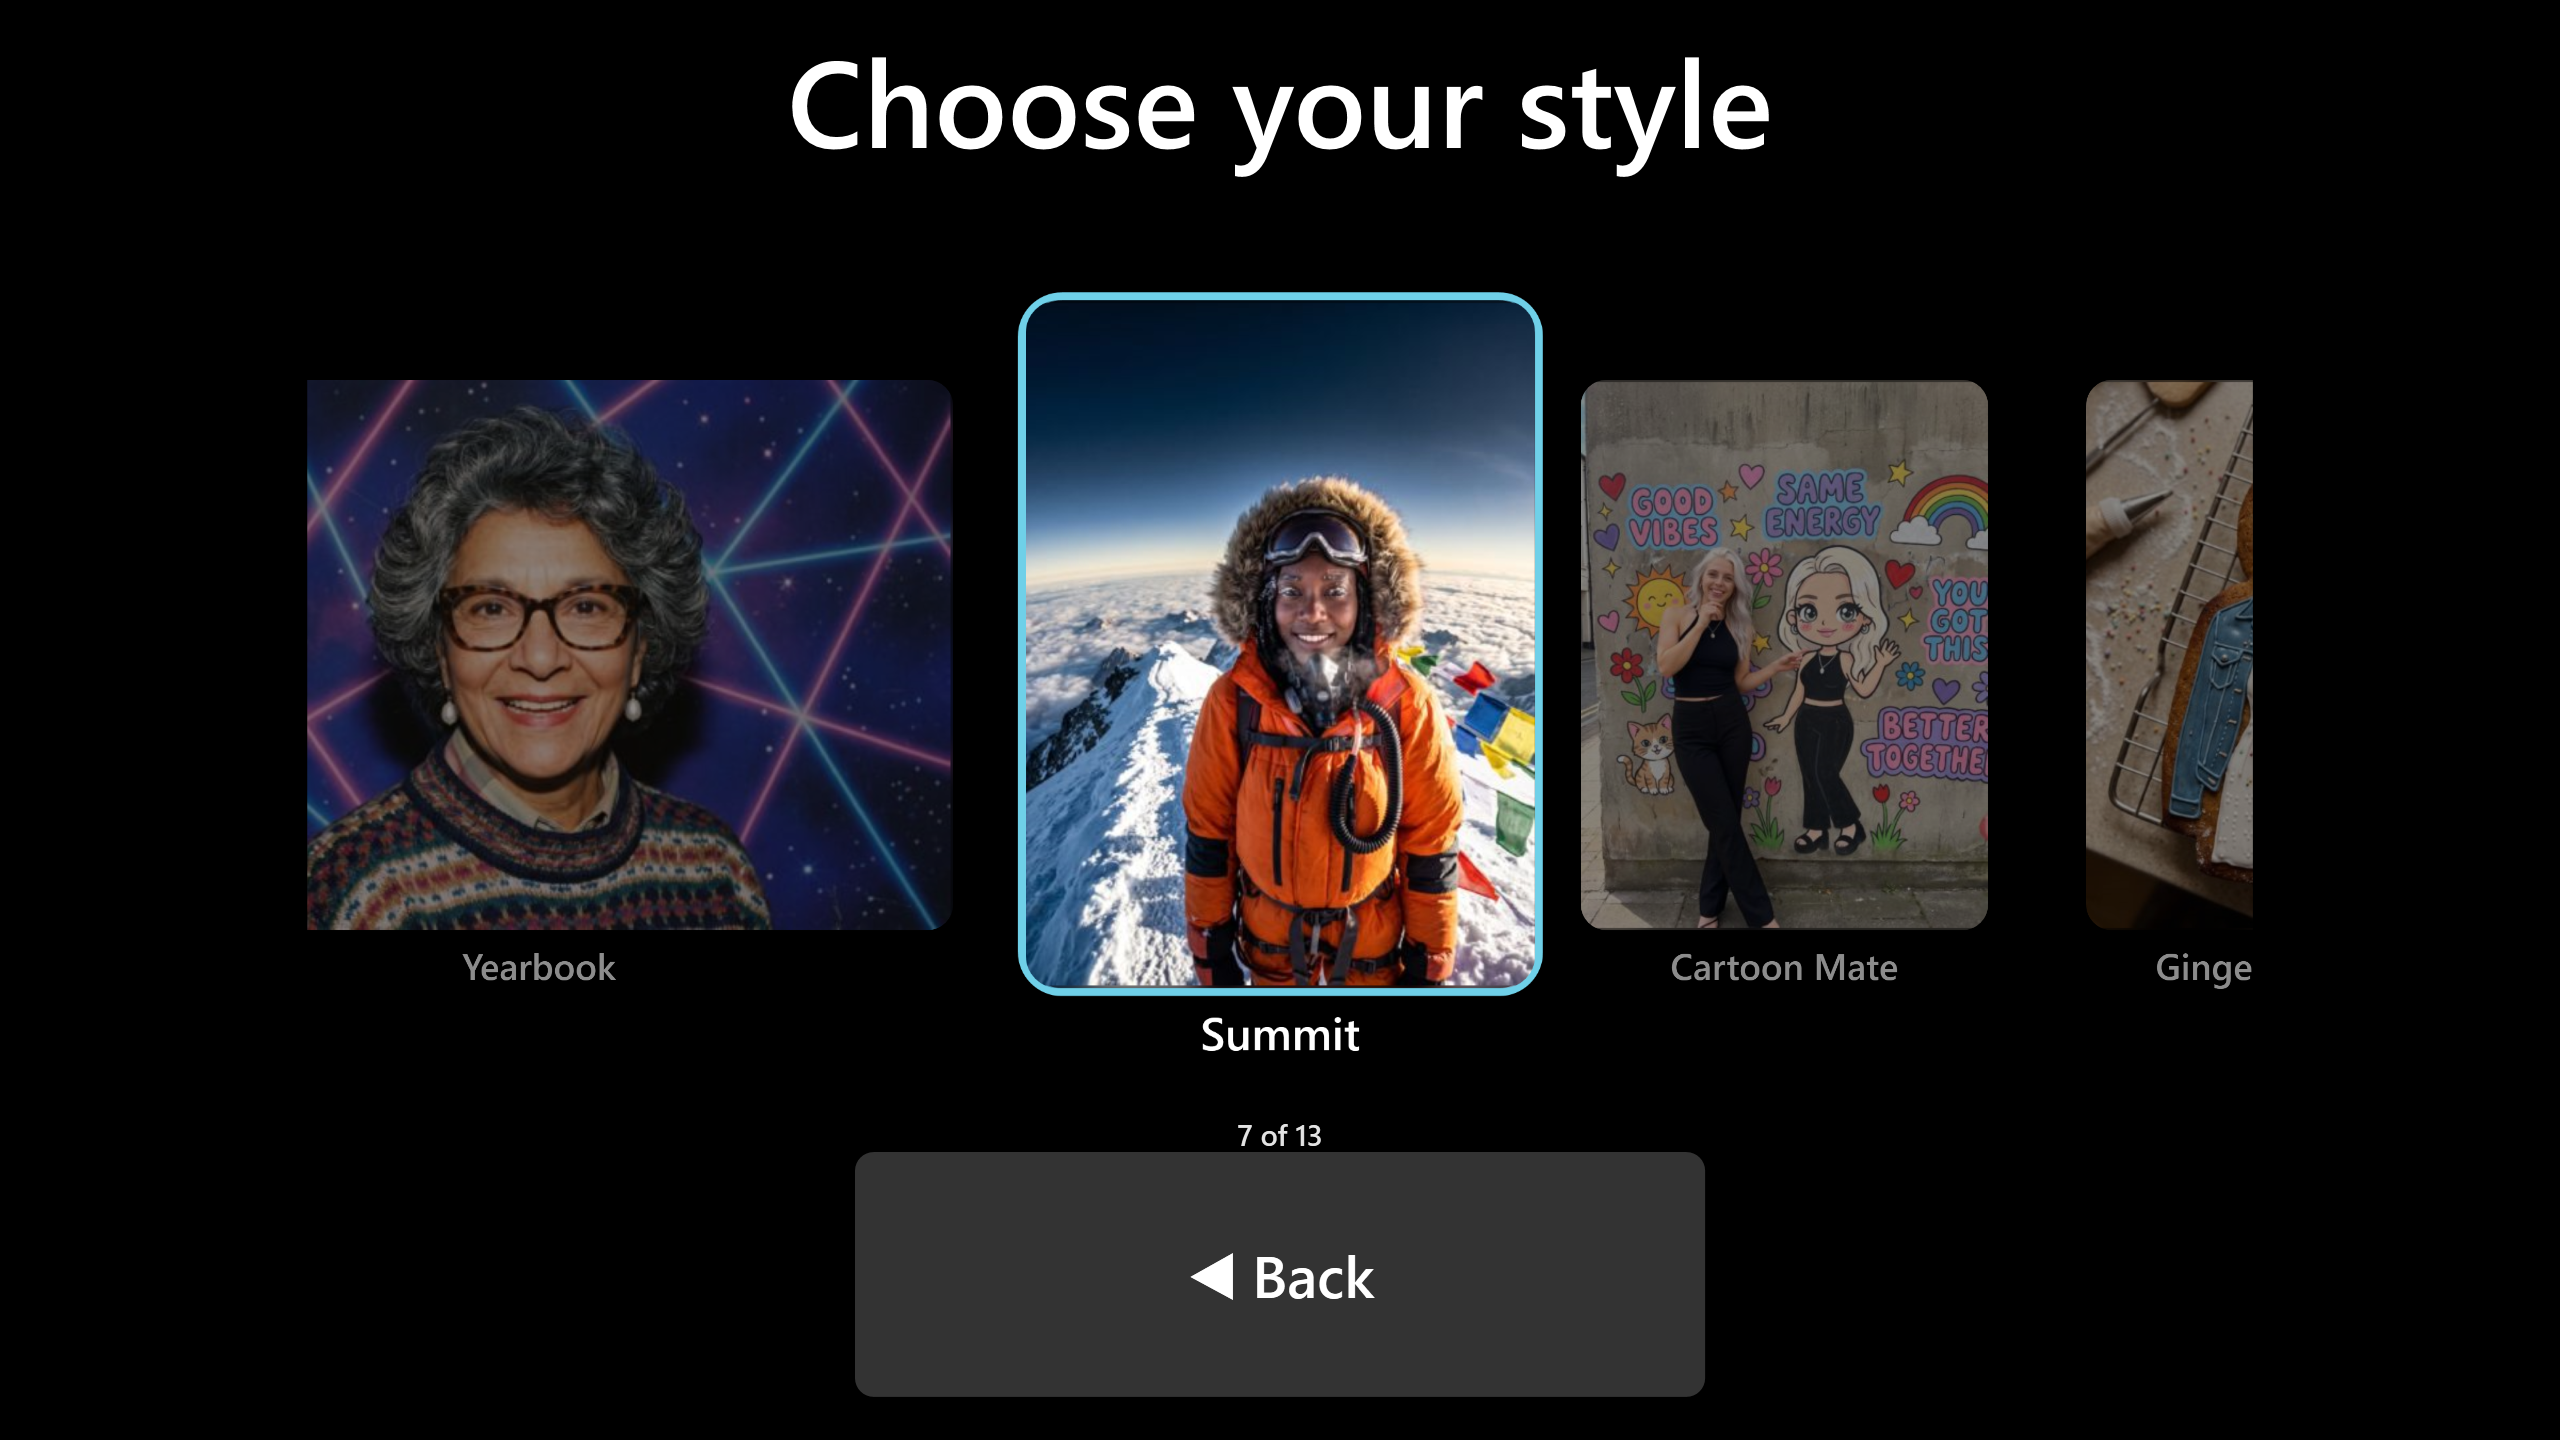
- A tap on the middle card chooses it. A tap on a card at the side brings it to the middle.
- The card in the middle always wears the Highlight colour, so guests can see which one is in front.
- Dots under the strip show where they are, or a count such as “7 of 13” when there are more than 12 cards.
- With Tile shape on Auto (each picture’s own shape), each card keeps the shape of its own picture.
- A style whose tile is an animation shows as its name on a colour in this layout.
Manual (your own cards)
You place each style yourself, for up to six styles.
-
Set Layout to Manual (your own cards).
-
Switch on Choice 1 Card (Manual) for your first style, Choice 2 Card (Manual) for your second, and so on.
-
Drag and resize each card on the canvas. A card can also show an animation instead of the style’s tile: pick it in the card’s Asset.
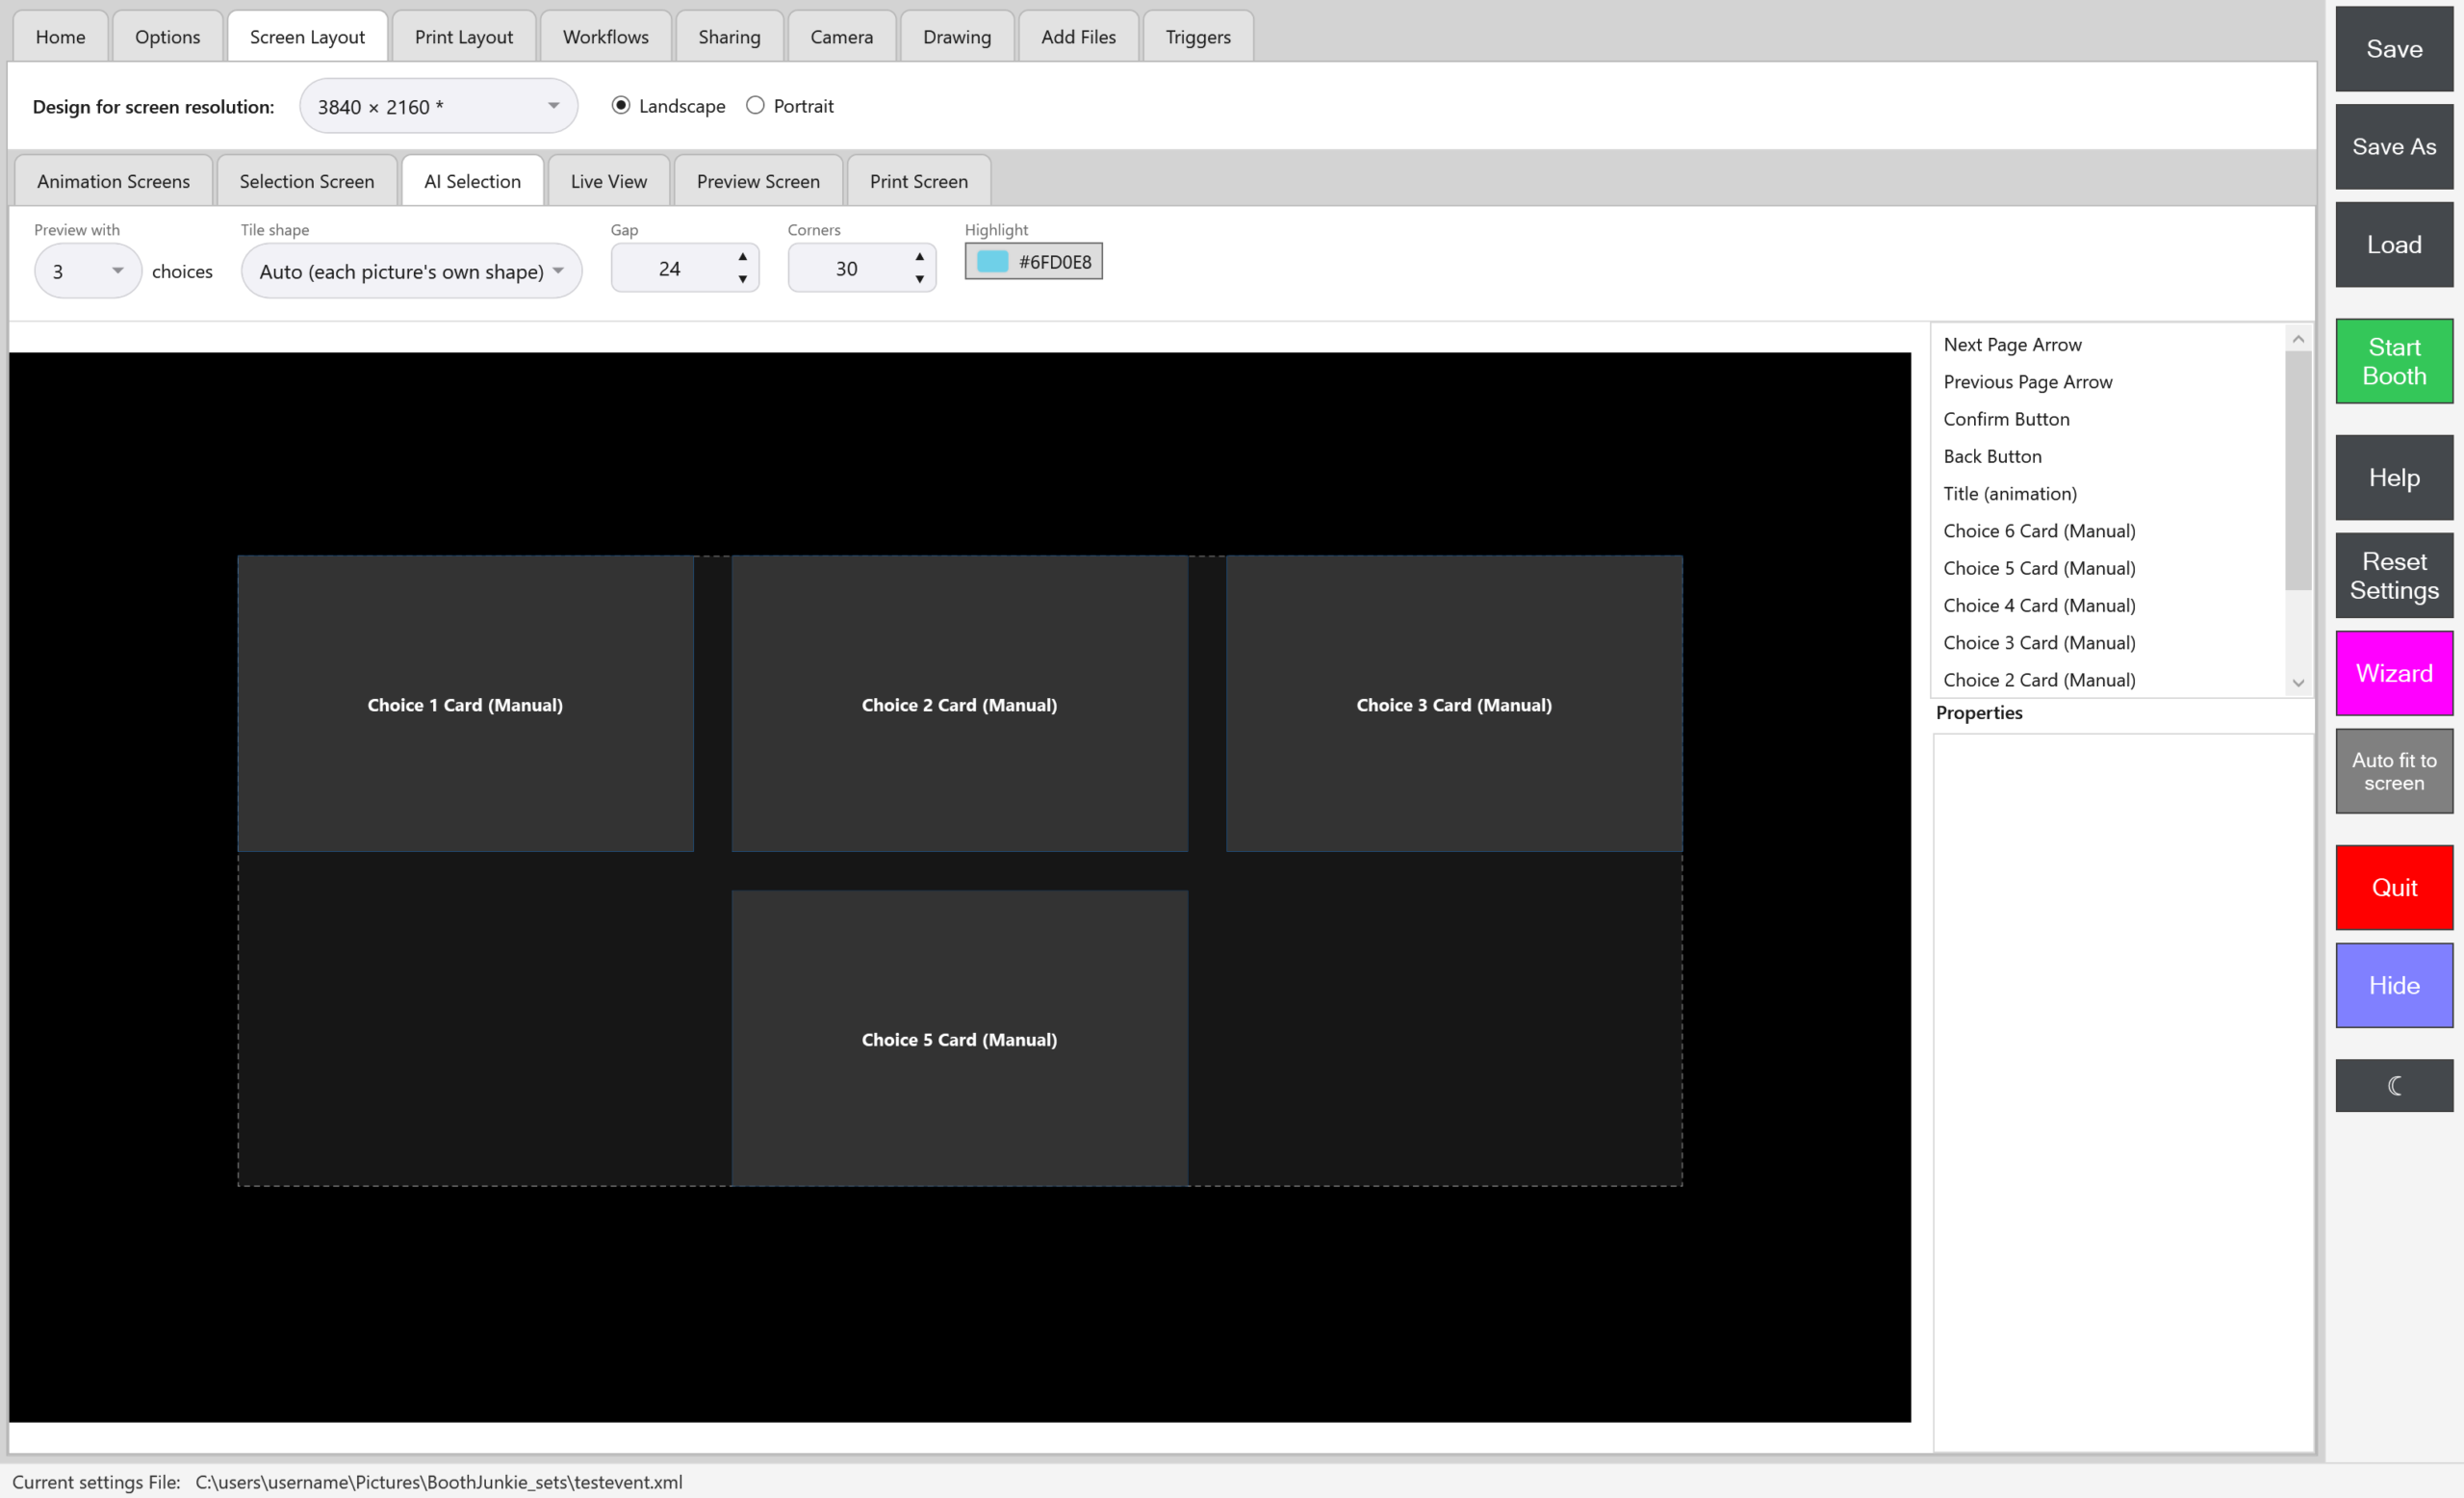
The first style in your list goes in card 1, the second in card 2, and so on. A style whose card is switched off, or that comes after the sixth, isn’t shown. If no card is switched on at all, the styles are shown as a grid, so the screen is never empty.
This guide is from Booth Junkie, photo booth software for Windows that has supplied the photo booth industry for 10 years. It runs enclosed booths, selfie pods and magic mirror booths with a Canon DSLR or a webcam, prints to any Windows printer, and sends photos to guests by WhatsApp, SMS and email.