
Booth Junkie can upload every photo straight to your own FTP server, as an extra copy alongside however else you’re already sharing with guests.
Setting it up
Open the Admin Panel and navigate to the Sharing tab, followed by the FTP tab, and enable Upload images via FTP.
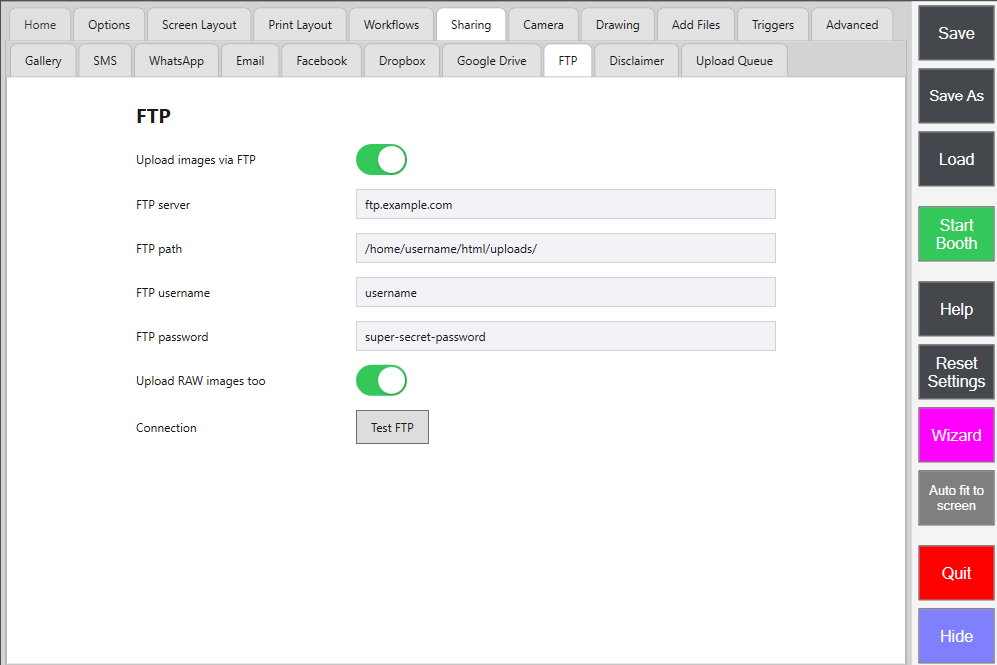
Fill in your FTP server address, the FTP path you want photos uploaded into, and the FTP username and FTP password for that account. Select Test FTP to confirm the details are correct and the booth can actually reach that server, rather than finding out something’s wrong partway through a live event.
Saving and using it
Select Save once everything’s filled in and tested. From that point on, nothing needs uploading in the moment a guest’s session ends – each photo joins the Upload Queue the instant a guest reaches the Print screen, and the queue sends it on to your FTP server whenever the booth has an internet connection. That means the booth itself never needs to be online during the event: if the venue’s Wi-Fi is patchy, or there isn’t any, photos simply queue up and go out once you’re back on a connection, even if that’s not until you’re packing down or home again.
Uploading RAW images too
Switch on Upload RAW images too and the untouched original straight from the camera – before any overlays, filters, or print layout – is sent to the same FTP server alongside the finished photo.
Turning it off
Switch Upload images via FTP off at any time to stop sending to that server. Your server address, path, and login details stay saved, so turning it back on later doesn’t mean typing them in again.