
Where to find it
Go to Admin Panel → Sharing → Gallery. Each time you open this screen, Booth Junkie asks the server for the link and QR code. If it can’t reach the server, it shows the link it saved for this event, with a note saying so.
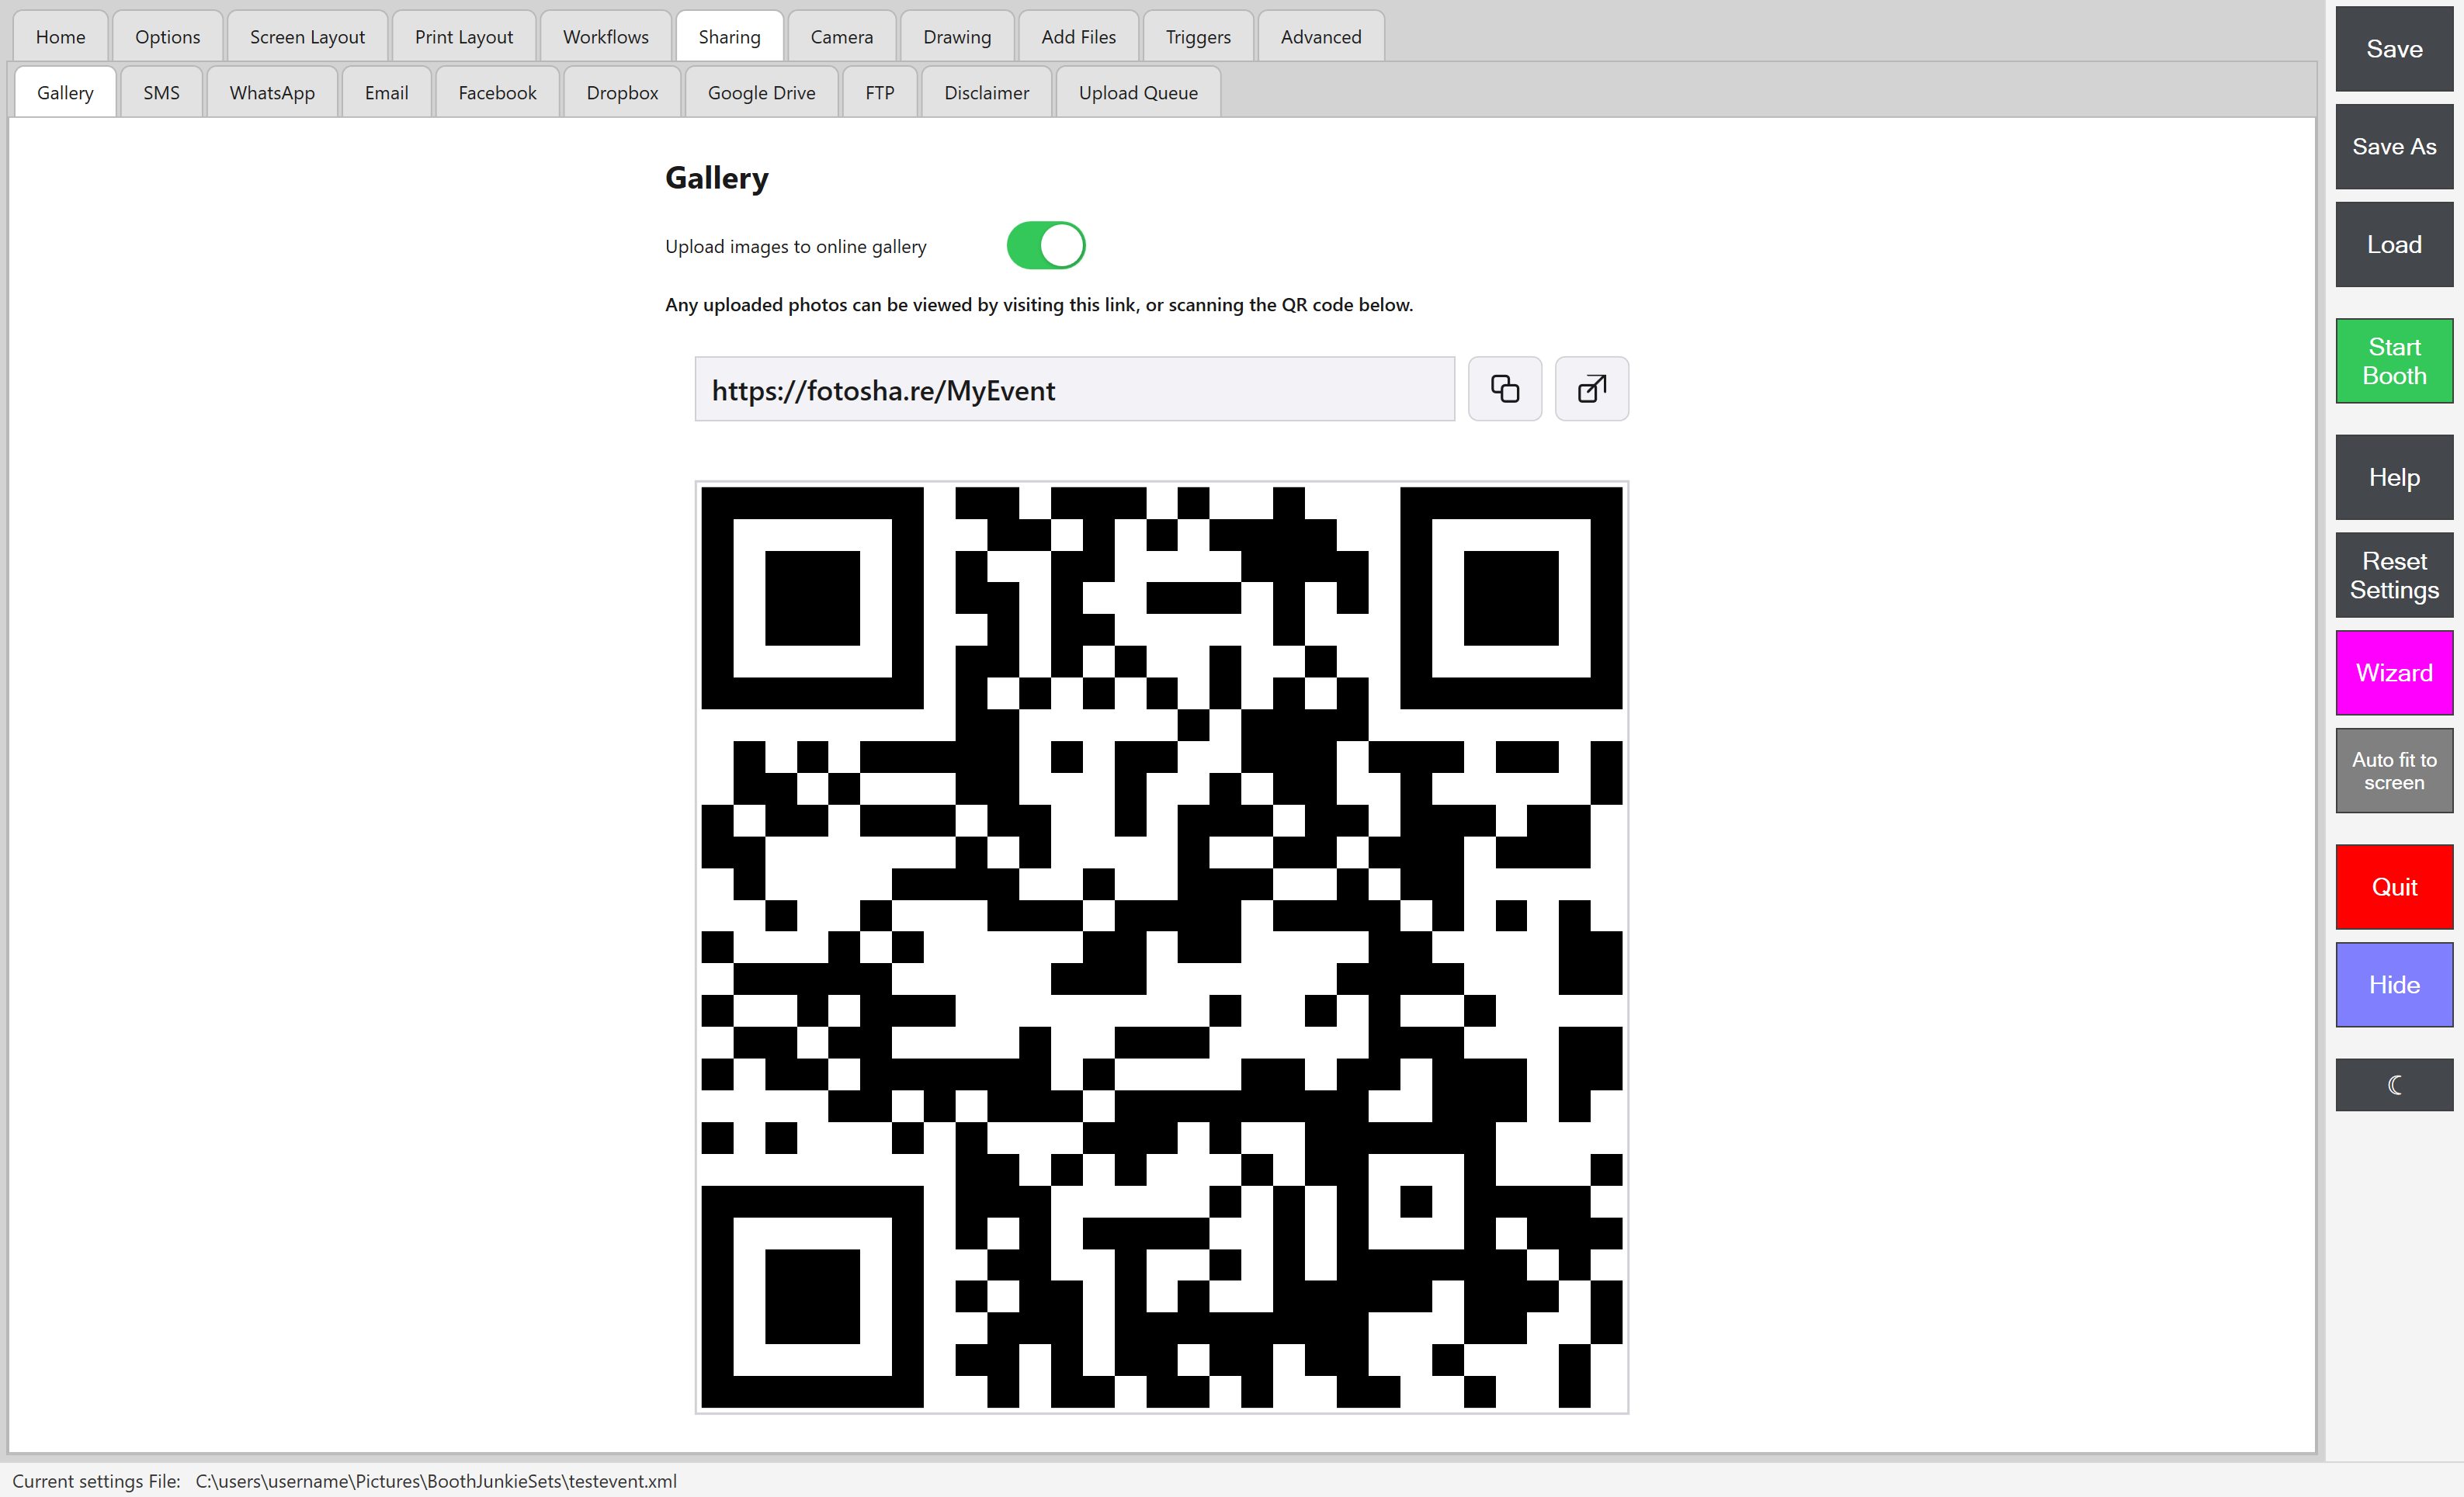
Use the Copy and Open-in-browser buttons provided, rather than retyping the link by hand.
Set up a “sharing station”
Tip: Turn a spare tablet into a sharing station
Scan the QR code with a spare tablet near your booth and you’ve turned it into a sharing station: guests can browse all of that event’s photos on it, find their own, and send it to themselves from there, without needing to scan anything individually.
If the link or QR code won’t load
| What you see | What it means |
|---|---|
| The note “Couldn’t reach the server just now, so this is the link saved for this event.” | Booth Junkie can’t reach the gallery server, so it shows the link it saved the last time it reached the server for this event. |
| The message “Could not connect to server – please check your internet connection” | It has no saved link for the event yet. |
Check your connection and reopen the Sharing → Gallery tab to try again.
Put the QR code on your prints
You can also print this QR code on every photo. See Putting a Gallery QR Code on Your Prints.
Turn gallery uploads on in the first place
This screen shows the link and QR code whether or not uploads are switched on, but photos only reach the gallery while the Upload images to online gallery switch at the top of this tab is on – see How do I upload photos to the online gallery (microsite)? for setting the event name and turning the feature on.