
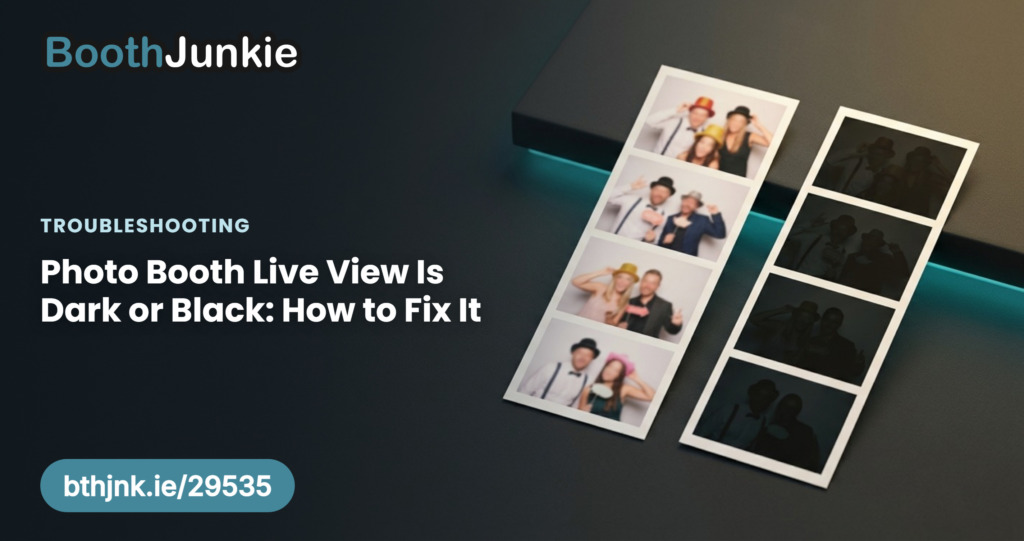
Your prints look perfect. The photos are correctly exposed, the colours are right, guests are happy with what comes out of the printer — but the screen they are standing in front of shows a dark grey murk, or nothing at all. Just black.
Almost every time, this is not a fault. It is your camera doing exactly what you told it to, and there are two ways to fix it.
Why the live view goes dark
If you are shooting with flash, your camera settings are set to expose correctly at the moment the flash fires. A flash is far brighter than the room, so those settings are, by definition, wrong for the room on its own — a fast shutter speed and a small aperture, chosen for a burst of light that is not currently happening.
Live view shows you the room. No flash is firing while the preview runs, so the camera shows you the room as those settings actually see it: several stops underexposed. In a dimly lit venue that means near-black, and often completely black.
The photo is fine because the flash does fire when the shutter opens. Only the preview is wrong.
> This is how you tell it apart from a real exposure problem. If the prints are correct and only the screen is dark, this is the live view issue. If the prints are dark too, your exposure genuinely is wrong and this is not your article — that is a settings problem, not a preview one.
Fix one: turn off Exposure Simulation
Canon cameras have a setting called Exposure Simulation. When it is on, live view previews what the photo will look like at the current settings — which is the behaviour causing the problem. Turn it off and the camera brightens the preview to something usable, while leaving your actual capture settings untouched.
It is in the camera’s own menus rather than in any software, usually under the shooting or live view menu depending on the body. Turning it off changes nothing about the photos you take.
For a lot of operators that is the whole fix, and it is worth trying first.
Fix two: when the camera has no such setting
Here is the part that most guides do not cover.
Not every camera lets you control Exposure Simulation. It tends to be the entry-level bodies that leave it out — the setting simply is not in the menus, so there is nothing to turn off. If you have hunted through the menu system and cannot find it, you are probably not missing it.
That leaves a genuine problem. The settings that make the photo correct are the settings that make the preview unusable, and the camera will not let you separate the two.
Booth Junkie separates them in software instead.
External Flash Mode
Admin Panel → Camera → External Flash Mode lets you enter a second set of camera settings, exposed for the room rather than for the flash.
While live view is running, Booth Junkie sends those settings to the camera, so the preview is bright and usable. The instant a photo is taken, it switches back to your real flash settings, and the photo comes out correctly exposed.
The guest sees themselves properly on screen. The print is right. Nothing is compromised on either side, and it works regardless of whether your camera offers Exposure Simulation at all.
Set it up by:
- Getting your photos exposed correctly first, with the flash, in manual mode. Do not start on the preview.
- Opening Admin Panel → Camera and enabling External Flash Mode.
- Entering settings that expose the room correctly without the flash — a slower shutter and a wider aperture than your capture settings.
- Checking both: the live view on screen, and a test photo.
Those two sets of numbers are meant to be different. If they are the same, the mode is doing nothing.
If the preview is still dark
- Check you are actually in manual mode for capture. If the camera is in
Pand a flash is attached, exposure will be unpredictable in the other direction as well — see photos coming out white or overexposed. - Check the room, not just the settings. External Flash Mode can only work with the light that is there. A pitch-black corner with no fill light at all leaves the camera nothing to preview.
- Check the lens cap and the aperture ring on older or adapted lenses, which can hold the aperture closed independently of anything the camera reports.
The wider picture
This whole problem is a consequence of choosing flash over a constant light, and flash is usually the right choice — it stops guests squinting, keeps colours consistent between venues, and freezes movement. The dark preview is the one real cost, and External Flash Mode removes it.
Photo booth lighting explained: constant LED vs flash covers that trade-off in full, including why flash lets you keep the same camera settings from one event to the next.