
Everything about how Booth Junkie behaves – your camera, printer, workflow, sharing options, and more – is configured in one place: the Admin Panel. This article covers the basics every new user needs before diving into individual settings.
What is the Admin Panel?
The Admin Panel is the configuration screen behind Booth Junkie’s guest-facing kiosk mode. It’s where you, the operator, set everything up before guests ever see the booth – which camera to use, how photos are printed and shared, what the screens look like, and dozens of other settings, each covered in their own article.
Opening the Admin Panel
Press Ctrl+O, or tap the top-right corner of the screen. Both work the same way, whether Booth Junkie is idle or already running a guest session.
Saving and loading your settings
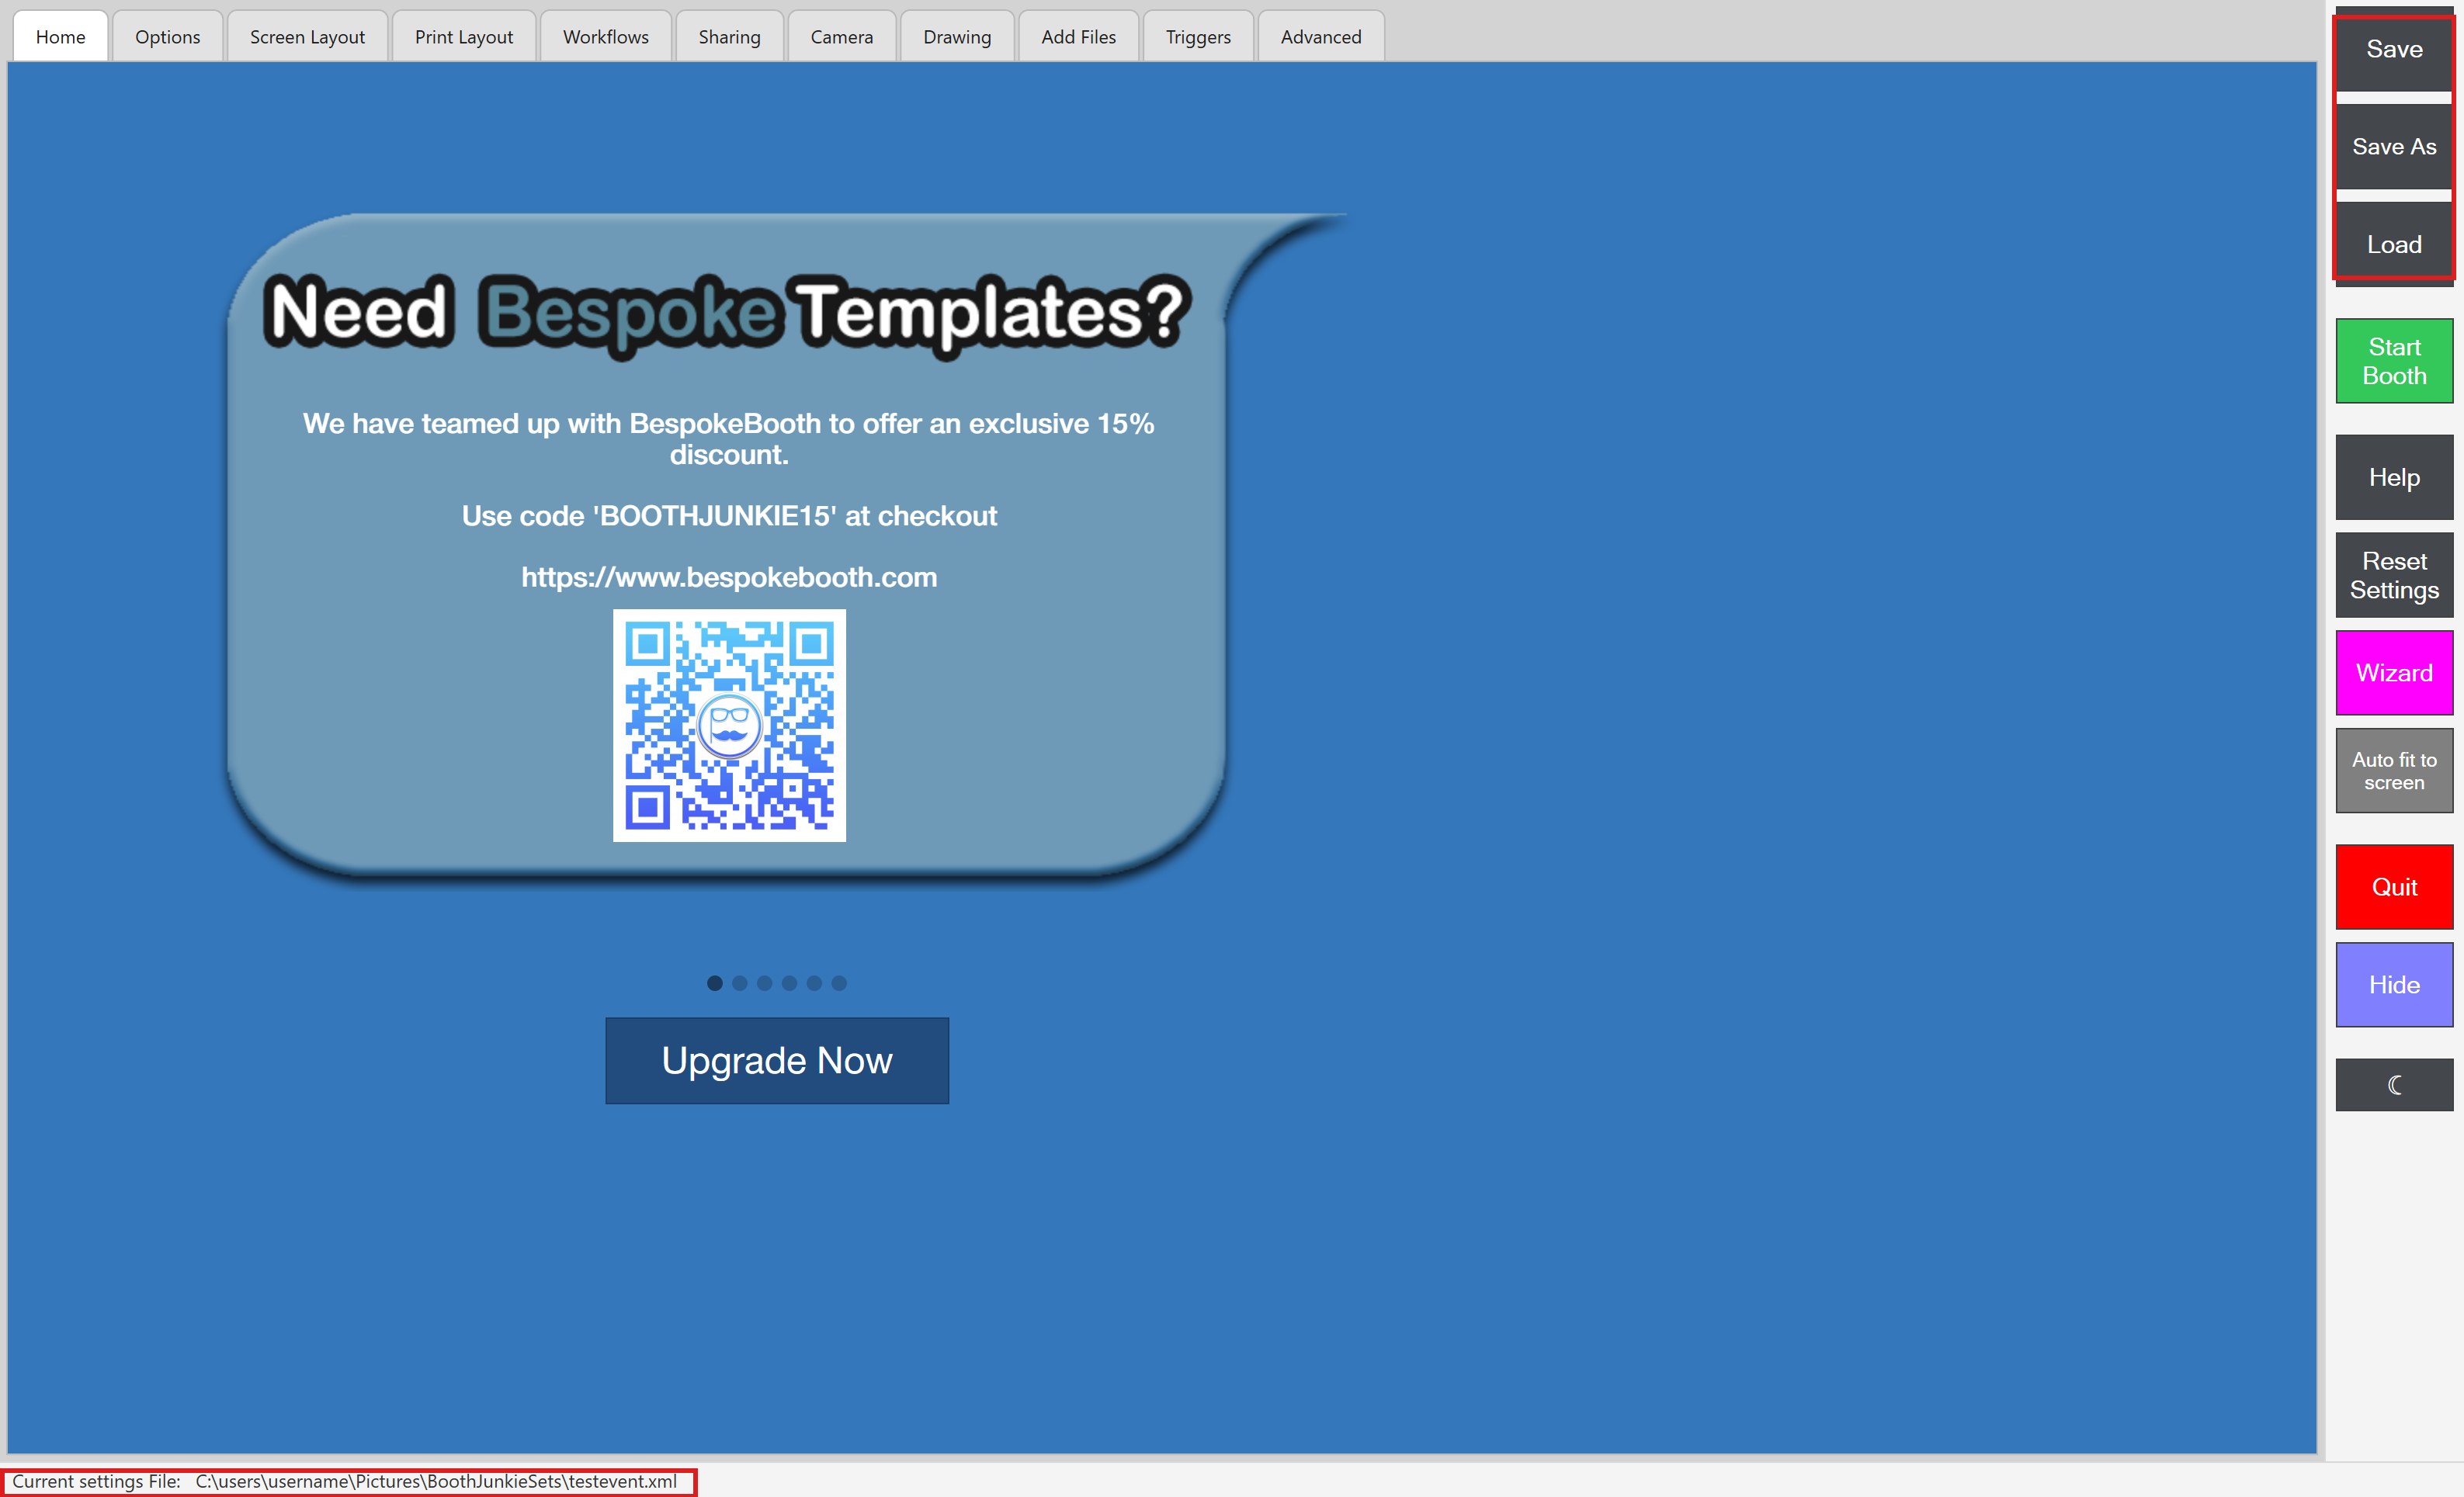
Every setting you configure – camera, printer, workflow, branding, everything – is saved into a single settings file. The Admin Panel’s sidebar has three buttons for managing this:
- Save – saves your current settings back to the file you’re already working from.
- Save As – saves your current settings as a new, separate file. Use this to keep different configurations for different events, venues, or clients without overwriting each other.
- Load – opens a different settings file, replacing everything currently configured.
The bottom-left corner of the screen always shows Current settings File, so you can see at a glance which settings file is currently loaded.
Starting the booth
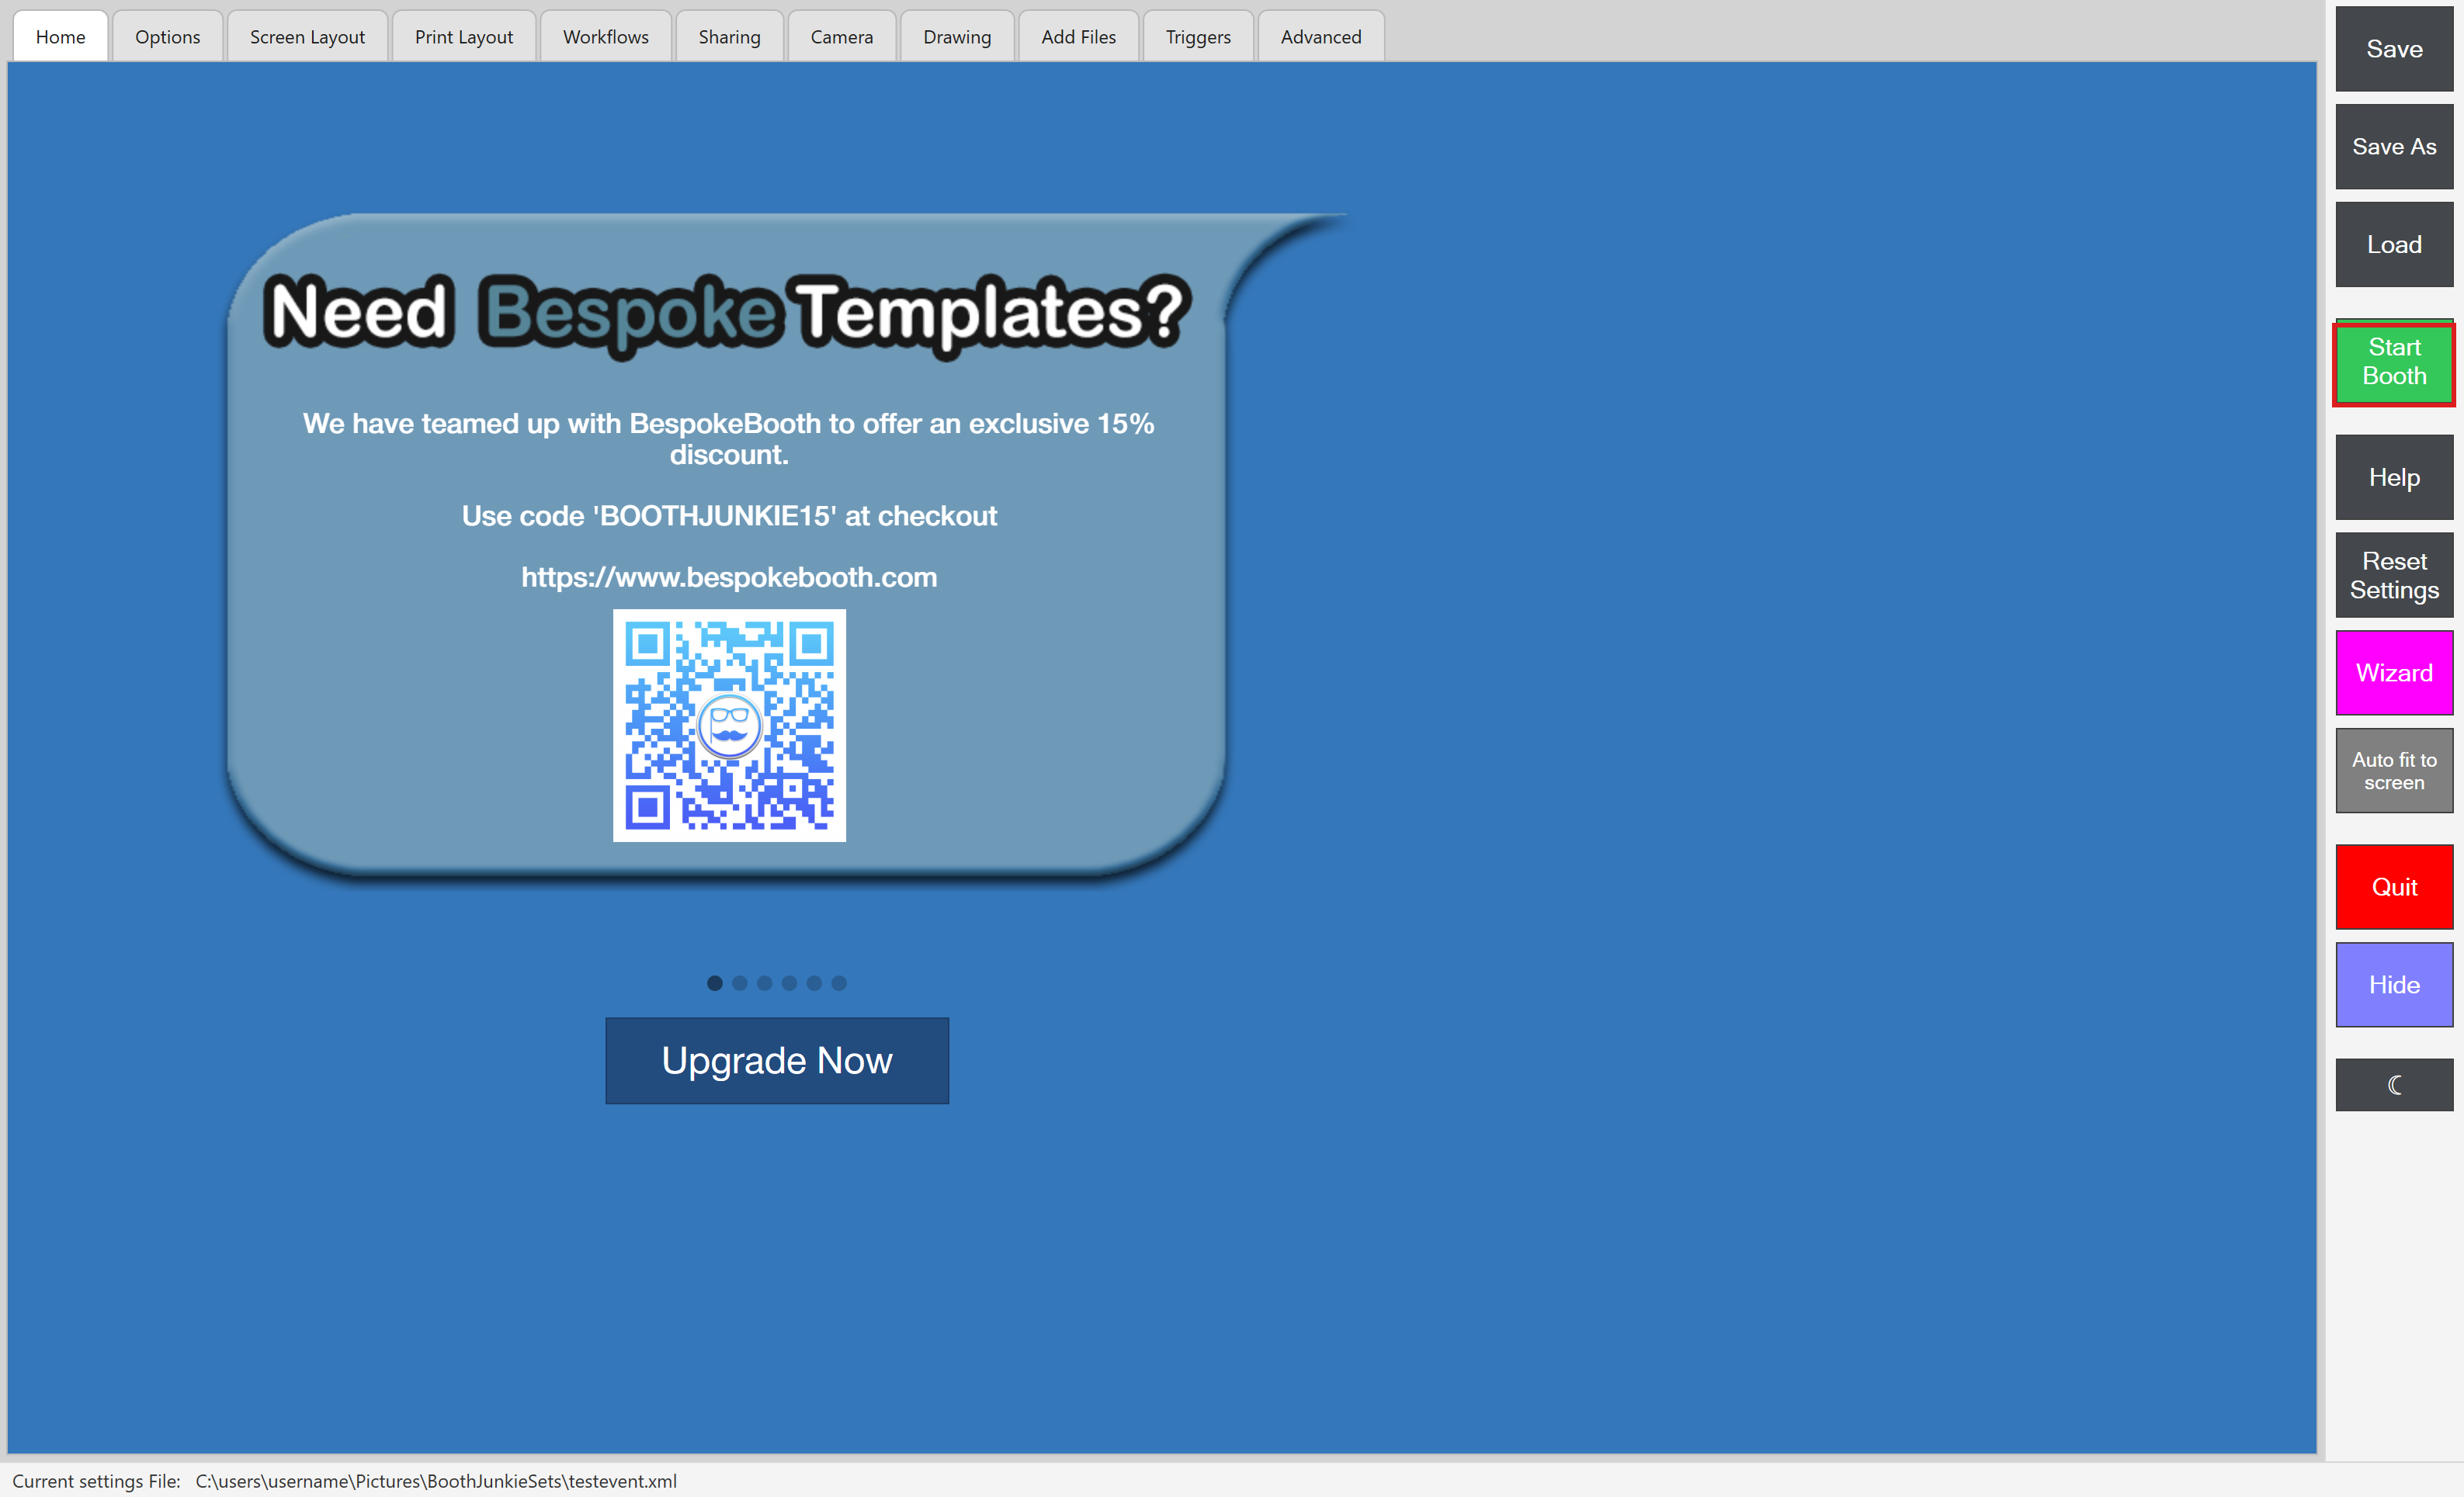
Once you’re happy with your settings, click Start Booth in the sidebar to launch the actual guest-facing kiosk experience using whatever’s currently loaded and saved.
Setting up for your first event
For a step-by-step walkthrough of the specific settings worth checking before a real event, see Setting Up Your First Event: A Checklist.